Make Furniture Last with DIY Repair and Upcycling

Today we are diving into DIY repair and upcycling techniques to extend furniture lifespan, turning tired pieces into reliable, beautiful companions for years ahead. You will learn practical steps, safe materials, creative finishes, and smart decision-making, supported by real stories, gentle guidance, and actionable checklists designed to reduce waste, save money, and celebrate meaningful craftsmanship at home.

Start with a Thoughtful Evaluation

Before any tool touches wood or fabric, take time to evaluate what you have, what it needs, and what matters most. Consider safety, structural integrity, sentimental value, and the total investment of time and cost. A careful assessment helps you choose the best repair or upcycling path, avoid unnecessary work, and build confidence through a clear, achievable plan tailored to both your skill level and available resources.

Triage Checklist

Begin by checking for wobble, cracked joints, loose hardware, peeling veneer, water stains, persistent odors, and any signs of pests. Look underneath for hidden split rails or compromised fasteners. Photograph everything for reference. Touch surfaces to gauge finish condition, test drawers and doors for racking, and gently rock the piece to locate movement. Document your findings and prioritize fixes based on safety first, then stability, then cosmetics.

Budget and Time Planning

Define a realistic budget cap and time window before purchasing supplies. Consider the replacement cost versus repair benefits, including environmental impact and sentimental worth. Price out adhesives, finishes, hardware, abrasives, and any specialty items. Check local reuse centers, salvage yards, and community tool libraries to keep costs low. Block time on your calendar, plan breaks for cure times, and batch similar tasks to reduce setup and cleanup.

Tool Kit Essentials

Assemble a practical kit: measuring tape, square, screwdrivers, adjustable wrench, utility knife, putty knives, chisels, sanding blocks, varied grits, clamps, a rubber mallet, wood glue, epoxy, painter’s tape, rags, mineral spirits, microfiber cloths, respirator, nitrile gloves, and safety glasses. For upholstery, include a staple remover, hand stapler, upholstery needles, curved needles, and chalk. Keep a small notebook to track products used, dry times, and observations.

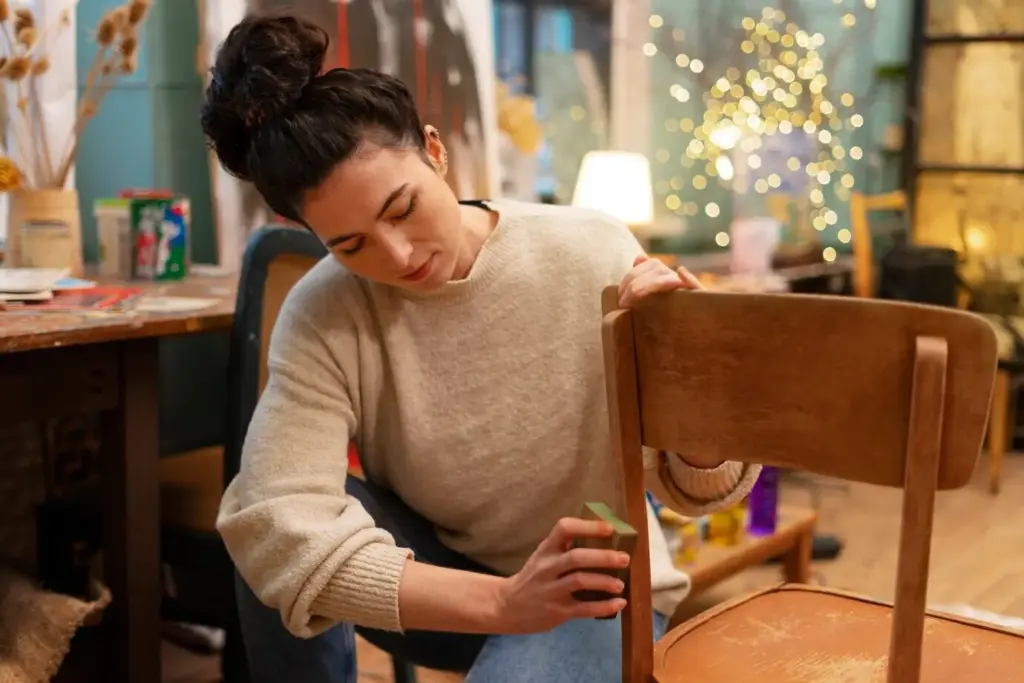
Deep Cleaning and Surface Revival

Cleaning is often the most transformative step because it reveals what truly needs attention. Work from least aggressive to more intensive methods, and always spot-test in hidden areas. Gentle solutions can lift decades of grime without stripping character. Respect original finishes when possible, especially on vintage pieces. The goal is renewal, not erasure, choosing techniques that preserve charm while preparing surfaces for long-lasting protection or creative reinvention.

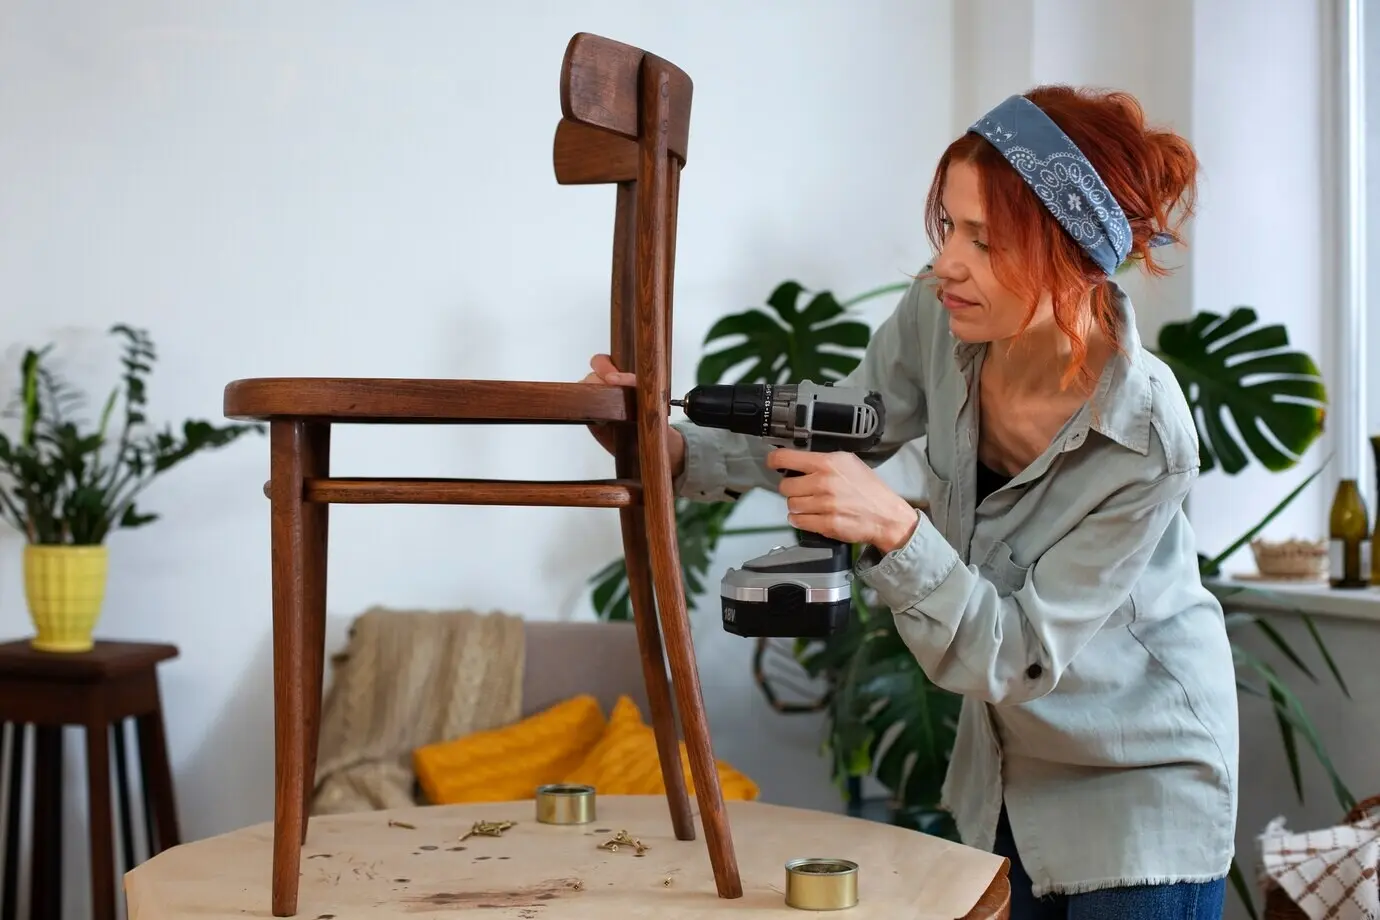
Repairing Frames, Joints, and Hardware

Solid structure is the cornerstone of long-lived furniture. Prioritize joint integrity and proper alignment before cosmetic fixes, using reversible methods when practical. Respect original joinery and avoid over-tightening fasteners that can split wood. Pre-drill where needed, match screws to existing holes, and protect surfaces with cauls during clamping. Patient, methodical work pays dividends, turning squeaks and wobbles into silent strength that lasts under daily use.

Tight Joints, Zero Wobble

Disassemble loose joints carefully, cleaning out old glue with warm water, a toothbrush, and gentle scraping. Reactivate hide glue with heat and moisture when appropriate, or re-glue using fresh wood glue sparingly. Use cauls to spread pressure, check for square with a reliable reference, and clamp just enough to close gaps without starving the joint. Add dowels or floating tenons only when needed to restore alignment and long-term stability.

Cracks, Chips, and Missing Bits

Stabilize cracks with thin glue wicked into the fibers, then clamp until cured. Rebuild losses using epoxy putty shaped slightly proud, then sand flush and color-match with stains, touch-up markers, or burn-in sticks. For veneer, cut precise patches, align grain direction, and press with even pressure. I once revived a cherished nightstand this way; the tiny repair disappeared, and the owner cried happy tears seeing her grandmother’s piece whole again.

Hardware Rescue and Replacements

Soak rusted screws in penetrating oil, clean brass with a gentle polish, and preserve patina where it tells a story. For stubborn hinges, a citric acid bath can help, followed by neutralizing and light lubrication. When replacing slides or pulls, measure carefully, fill old holes cleanly, and pre-drill new ones to avoid tear-out. Align doors with shims and patience, ensuring smooth movement that makes the entire piece feel newly precise.

Upholstery Refresh with Confidence

Renewing seats and backs transforms comfort and hygiene while extending structural life. Plan your stack thoughtfully: support webbing or springs, burlap, foam or latex, batting, and a durable fabric with appropriate wear rating. Remove staples methodically, label layers, and photograph each step. Mind tension, corner folds, and symmetry. Upgrading materials and technique here can make an ordinary chair feel like a boutique piece tailored to your space and lifestyle.

Fabric Selection That Works

Choose fabric by rub count, fiber blend, cleanability, and style. Performance textiles resist stains and fading; natural fibers breathe beautifully but may require protection. Align patterns carefully across cushions, plan yardage with a margin for mistakes, and pre-wash if shrinkage is possible. A reader once saved their sofa from cat claws by selecting a tightly woven, textured fabric that disguised snags and wore elegantly over time, reducing stress and expense.

Cushioning and Support

Rebuild the seat foundation first. Replace sagging webbing or retie springs, then add burlap for stability. Select foam density that suits use, wrapping with dacron for softened edges and a professional silhouette. Consider latex for resilience and longevity. Blend feathers with foam toppers for plushness without collapse. Secure a dust cover to tidy the underside. The result is balanced support that welcomes you daily and resists flattening under real life.

Creative Upcycling That Adds Real Value

Upcycling goes beyond novelty, focusing on function, durability, and beauty. Rethink purpose while honoring structure: strengthen where loads will increase, select finishes that suit the new use, and avoid irreversible cuts unless planned with care. The best transformations feel inevitable, as if the piece always wanted to become that better version. Along the way, you save materials, keep stories alive, and craft furnishings that spark daily gratitude.

Protection, Maintenance, and Sustainable Habits

Longevity lives in small habits practiced often. Protect surfaces with coasters, rotate cushions, and control humidity to prevent seasonal stress. Add felt pads, train pets away from vulnerable fibers, and address minor issues before they escalate. Gentle cleaning, timely lubrication, and periodic re-waxing or topcoat refreshes preserve effort invested. Invite family participation so everyone respects the piece, building a culture of care that keeps furniture thriving across generations.

Daily Habits That Preserve

Place coasters, avoid dragging items across tops, and keep hot cookware on trivets. Maintain even load distribution on shelves, wax wooden drawer runners for smoothness, and steer clear of silicone polishes that complicate future finishing. Protect from direct sun to limit fading, and keep furniture away from strong vents. Offer pets cozy alternatives and trim claws regularly. Small, consistent choices reduce wear dramatically and prevent repairs from snowballing into avoidable replacements.

Seasonal Checkups

Schedule quick inspections at the change of seasons. Re-tighten screws, re-glue minor lifts before they widen, and recondition wood with appropriate oils or waxes. Watch relative humidity, aiming for a comfortable mid-range using humidifiers or dehumidifiers as needed. Oil hinges, polish hardware, and touch up finish dings before moisture enters exposed fibers. A few quiet hours each quarter can reclaim years from entropy, honoring both craftsmanship and your investment.

Memepepanavavunaruputohu
Privacy Overview

This website uses cookies so that we can provide you with the best user experience possible. Cookie information is stored in your browser and performs functions such as recognising you when you return to our website and helping our team to understand which sections of the website you find most interesting and useful.